Building a 3D printer from scratch
In 2019 I decided that I was going to build my own 3D printer. For some unknown reason I even thought that I could do it cheaper than buying a commercial printer. Skip a few months ahead, and in a euphoric frenzy I was printing a semi-random deposit of filament on a skew bed. These days the printer is actually useful and printing Benchies to my heart’s content. In this post I’ll take you through the process I went through to design and build my printer. It won’t be a detailed build guide but rather just my experience (and maybe a bit of a cautionary tale) of building my own 3D printer, from scratch.
Starting with the basic design
Before I could go ahead I needed to make a few basic choices regarding the design of the printer. After some Google-fu and watching countless YouTube videos I decided on the following:
- It was going to be a Cartesian printer (i.e. it moves straight along the x, y and z-axis)
- I was going to use a Bowden style extruder
- That I’m going to design and build my own DIY controller
- It would have at least a 20cm x 20cm x 20cm printing volume
Exactly one of these worked out (it stayed a Cartesian printer).
Doing the CAD designs
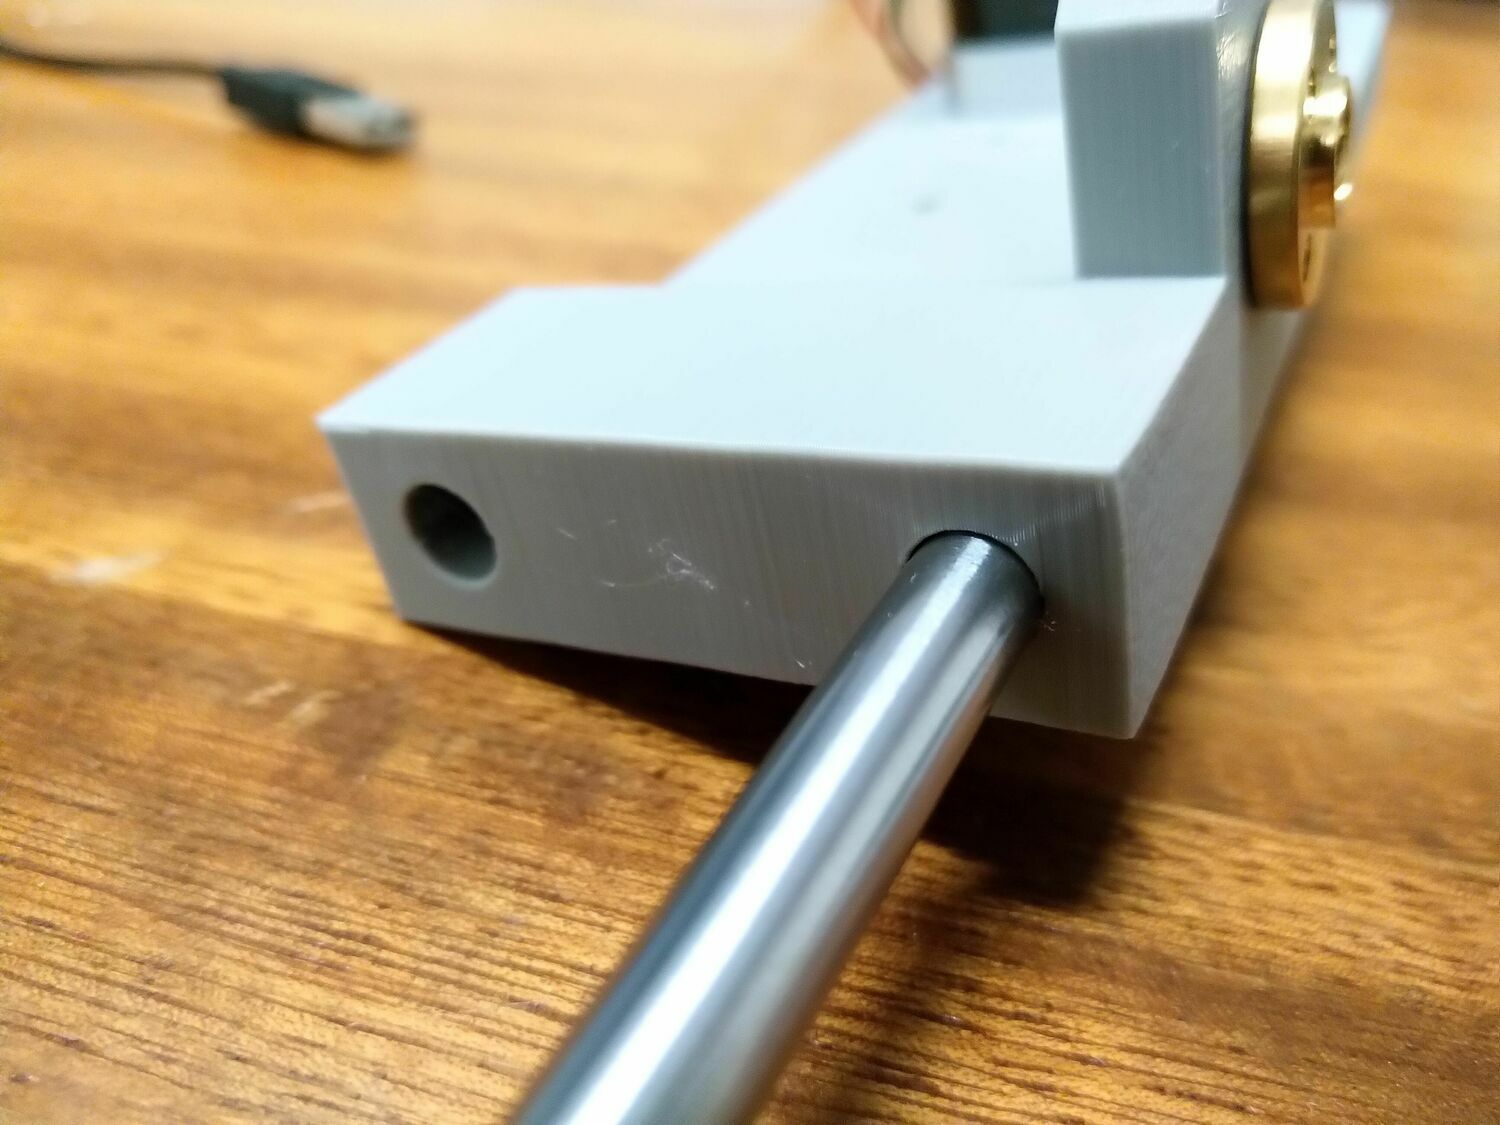
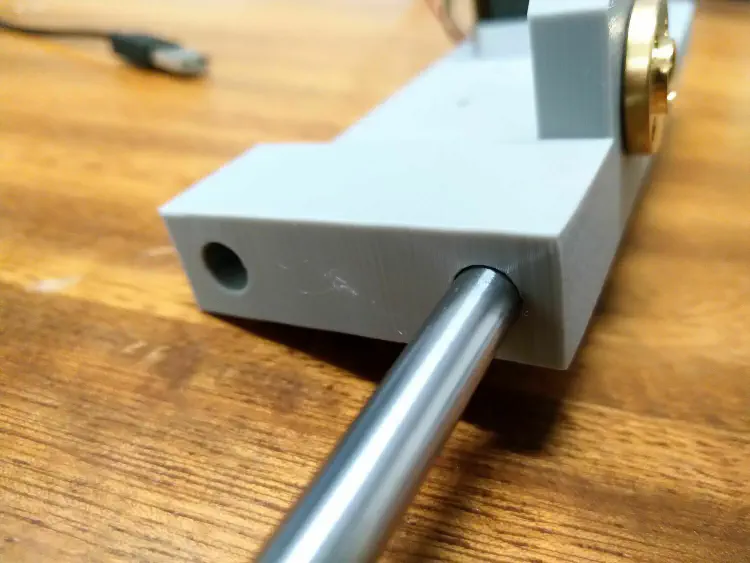
When I first started working on this project I had no idea how to design CAD models. Suffice it to say, this was not the easiest project to learn CAD with. But, eventually I got going using FreeCAD, a wonderful FOSS CAD solution that I still use for all my CAD’ing needs. I initially started drawing up models of all the bought components (stepper motors, pulleys, rods etc.) after which I started with my own part designs.
Now at this point I didn’t have access to my own printer so all the printed parts had to be printed somewhere else, which made prototyping a lot harder to do. After my first 7-hour long print, I excitedly took the rod and tried to push it in one of the mounting holes. This is the exact moment that I learned about tolerances. As you could probably guess, it didn’t fit (including the other parts). So, back to the drawing board - after several prototype iterations the first parts started coming to life and soon enough I had some basic parts going.
For those interested, all my FreeCAD design files can be found in this Github repo (I’m warning you now, don’t expect much).
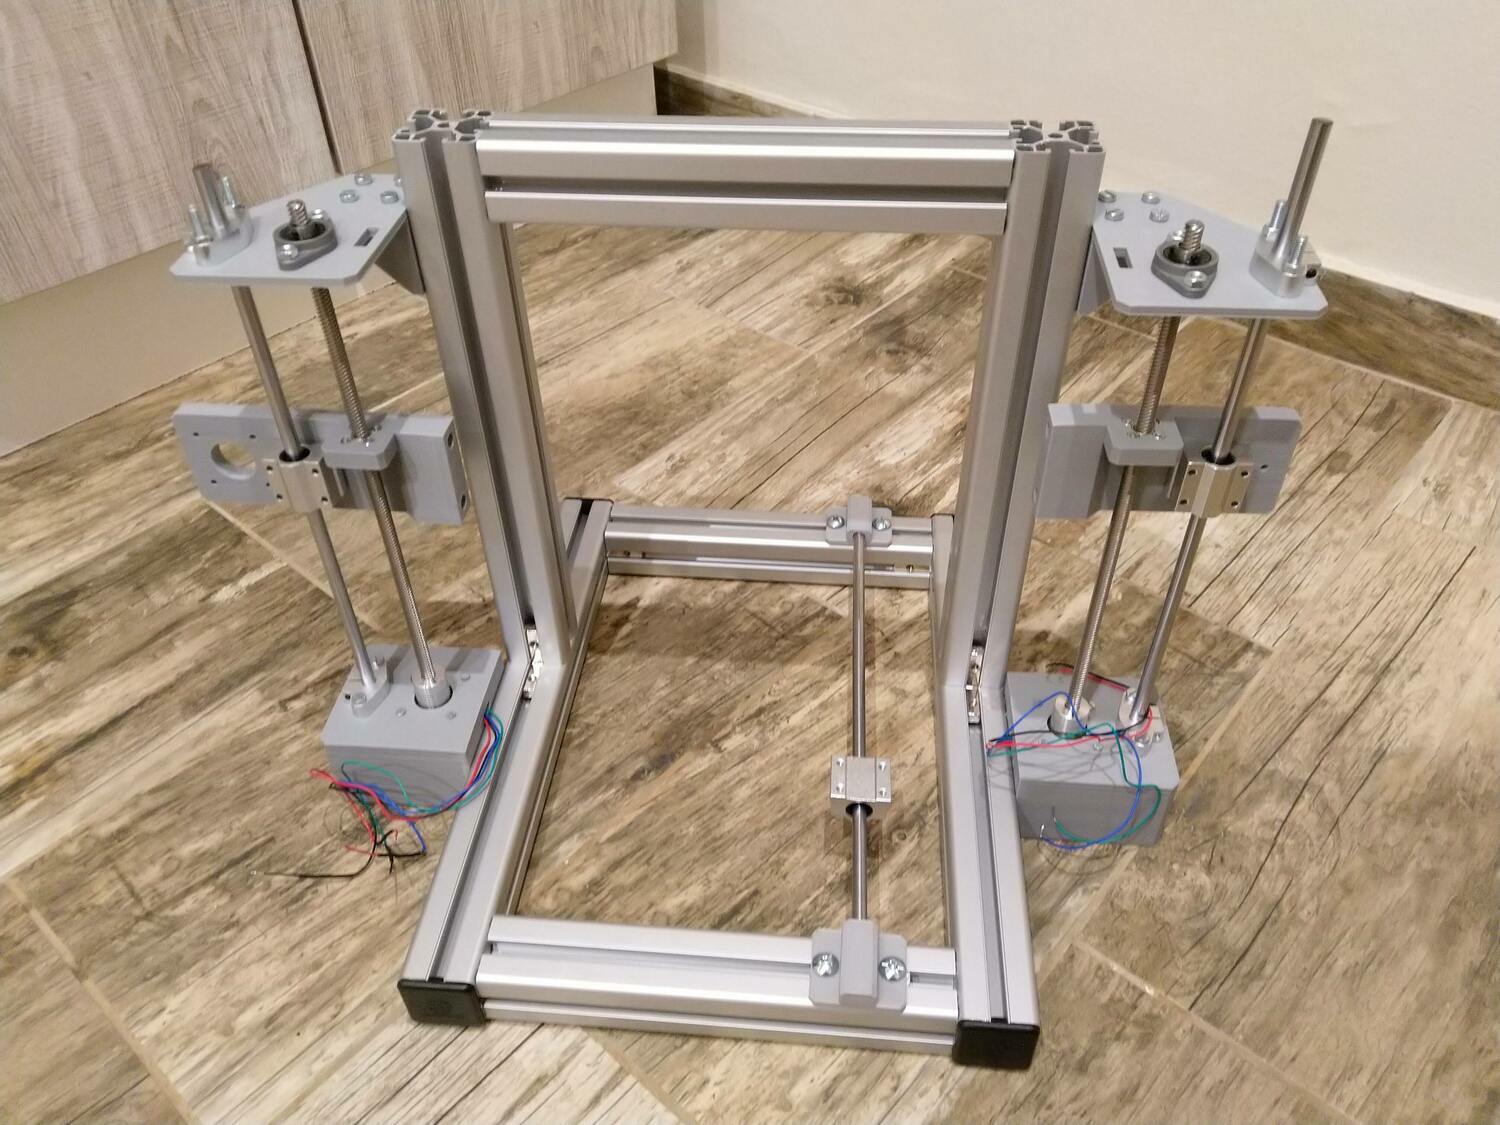
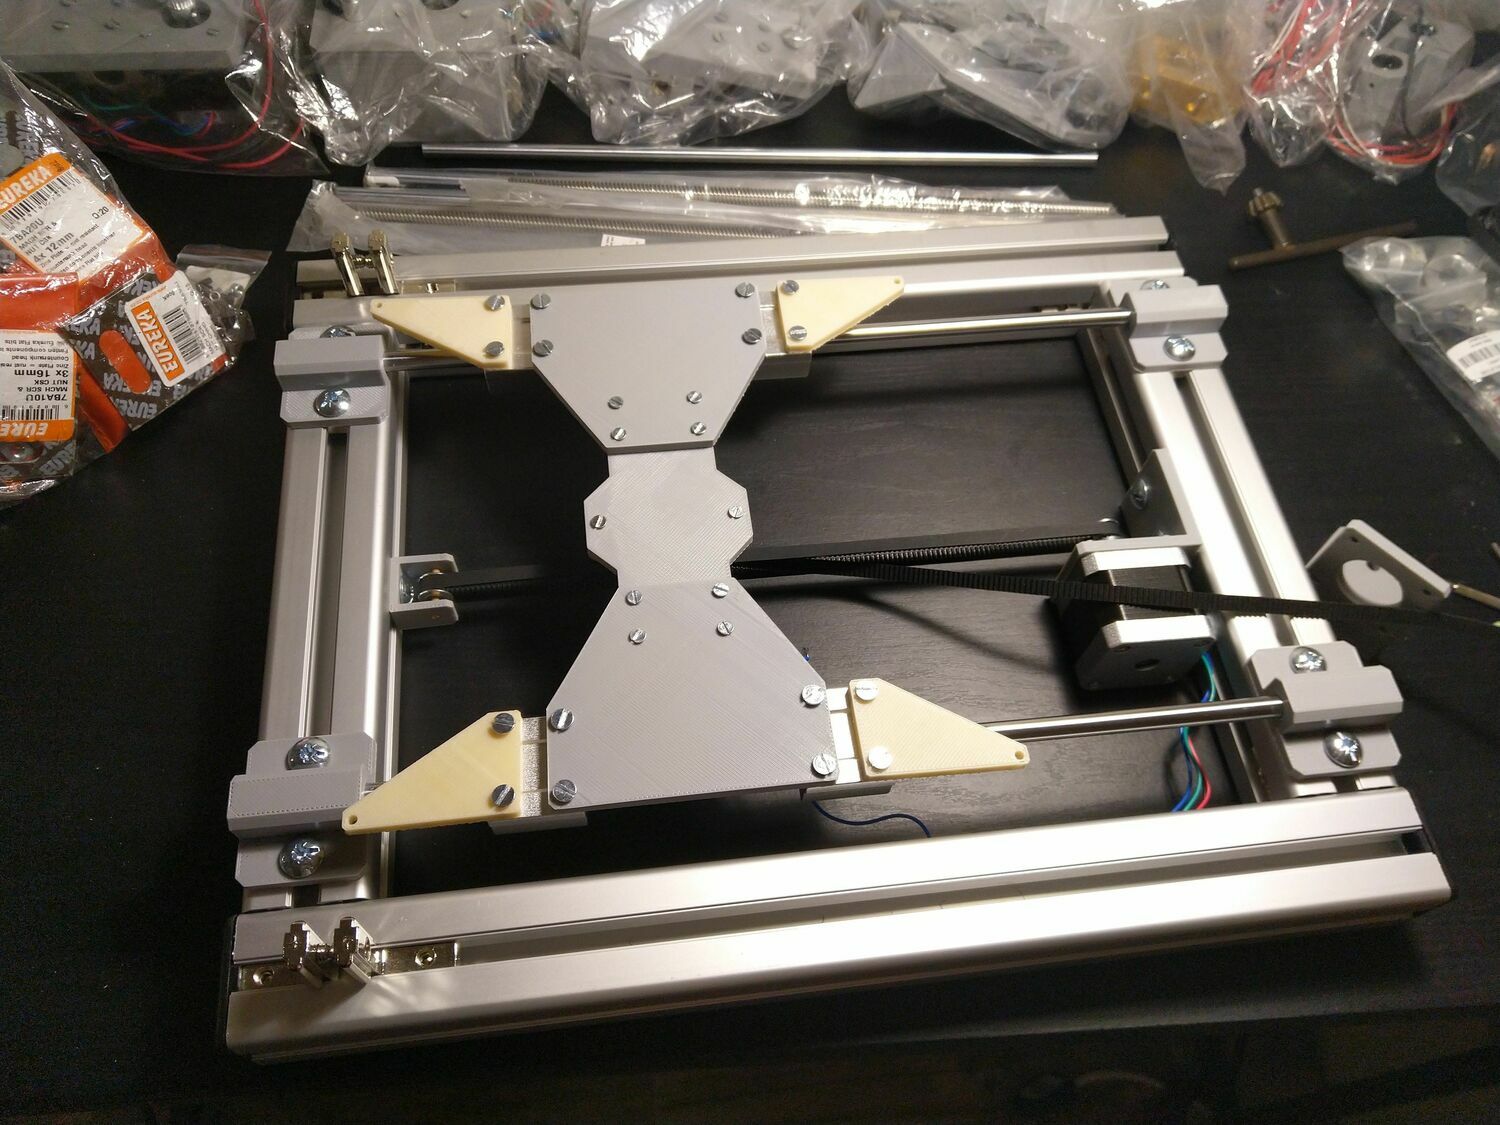
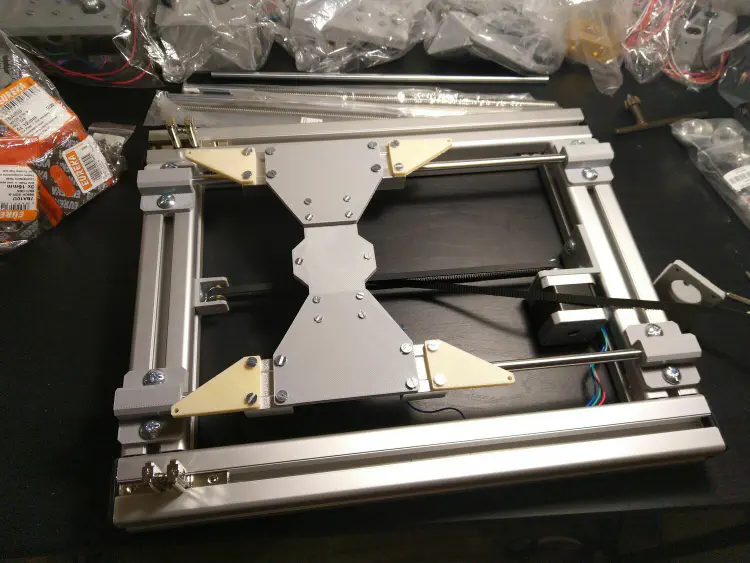
Printing the parts
The time I learned most about 3D printing was while I was printing my own printer. I learned a lot about warping (the printer I was initially using had no heated bed), tolerances, skipped steps and all those other fun things they never show to you. Since I had to print parts one-by-one on a printer I didn’t own this initial printing phase took weeks to finish. I’d set up a print to go overnight, get it the next day and test it. If it worked I’d set up the next print on the following day. To make things more interesting, at this point in time our country had daily power interruptions - these don’t tend to go great with long-running prints. Piece-by-piece it was starting to resemble a 3D printer.

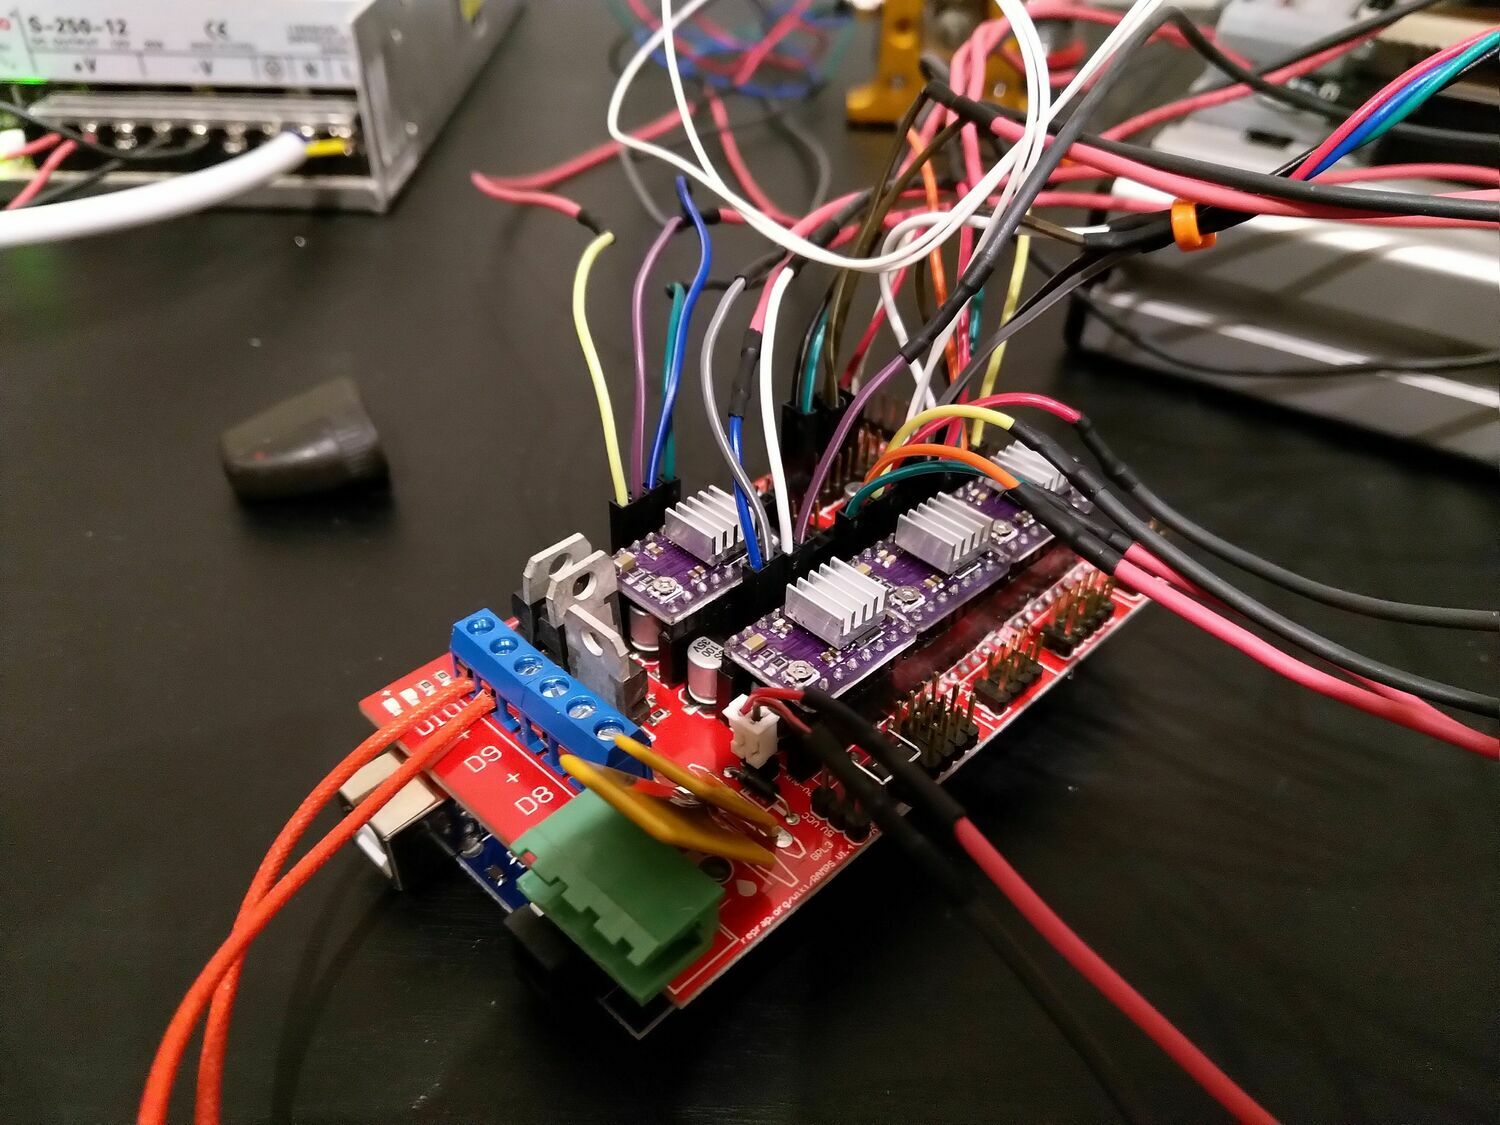
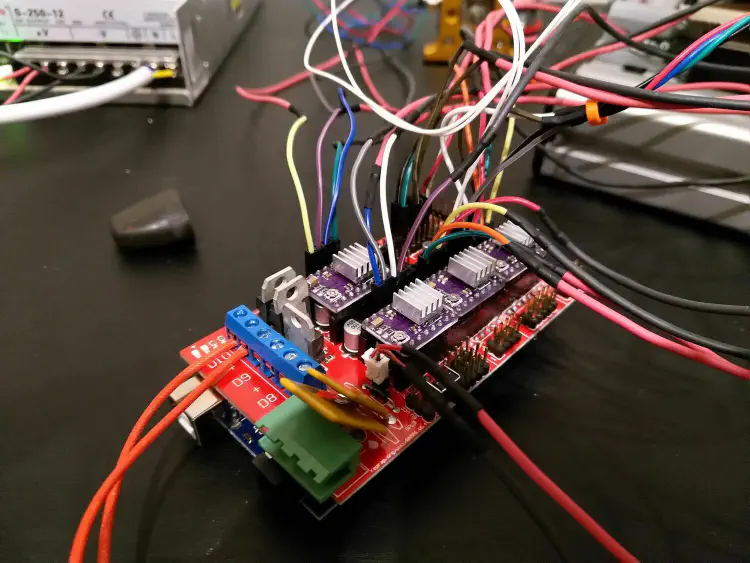
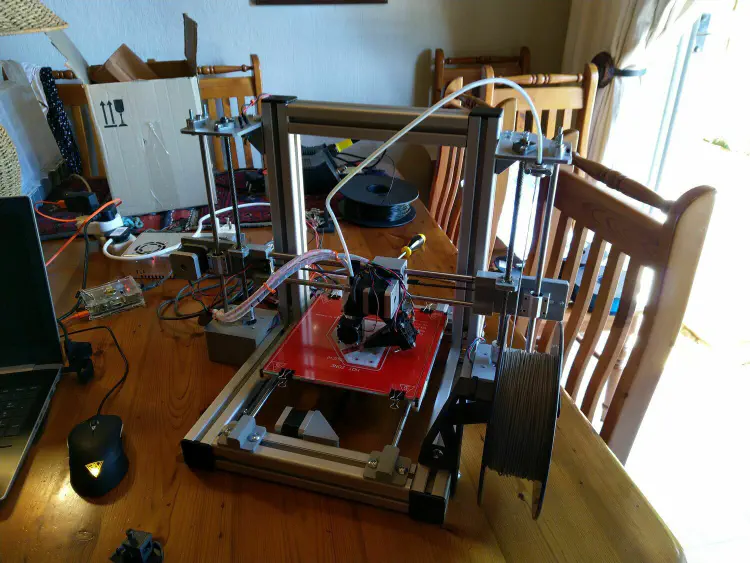
Wiring it all up
Things were coming together, and I finally got to the point where I could connect things to each other. Except, I didn’t have a controller. Now you might remember my initial goal of developing my own controller. At this point I had a few months of sobering reality sinking in and I realized that I actually want to build a printer that works. So, I gave in and went ahead and bought a RepRap controller. To this day I’m very grateful that I did this - at that point in time I didn’t even know what a PID controller was. You could probably guess how my controller would have turned out.
I hooked it all up and was ready for the big eureka moment. It was 1 AM in the morning and I was ready to print my first Benchy.
It worked like a dream
I turned it on and the first sound it made was an inhuman shriek that’s still fresh in my memory. The stepper motor drivers were pushing way too much current, causing the whole rig to vibrate and scream as if I was torturing it. The X-axis stepper motor jumped and rammed the hotend into the side of the printer (who needs limit switches wired up this early in a project?). Needless to say I was overjoyed that it was alive and well. Fearing that it would destroy its own printing bed, the first print happened entirely in mid-air. It was glorious (and severely under-extruding as I would later find out).
Countless hours of tuning
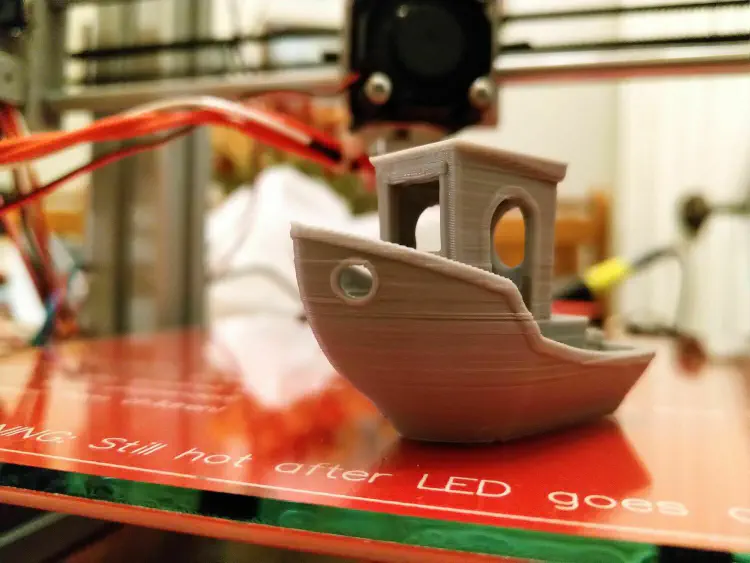
This was probably one of the phases where progress was the slowest. At this point I had no bed levelling, the Z-axis was constantly becoming skew and I was only beginning to learn that 3D printing was actually not such straight-forward process. After finally getting the stepper motor current just right, there was still the steps per mm, printer limits, bed levelling, Z-axis levelling and extrusion speed to figure out. It started out with a measly 1cm cube, moving up to the famous calibration cube and finally, Benchy was on the way. It took multiple tries before I got the printer to finally stop skipping steps on the hull, and then, there it was in all its glory (and printing imperfections). The printer still had severe ringing issues, inconsistent extrusion and every now and then it was skipping steps. But it was printing (and not catching on fire, which was a rather big worry for me at the time).
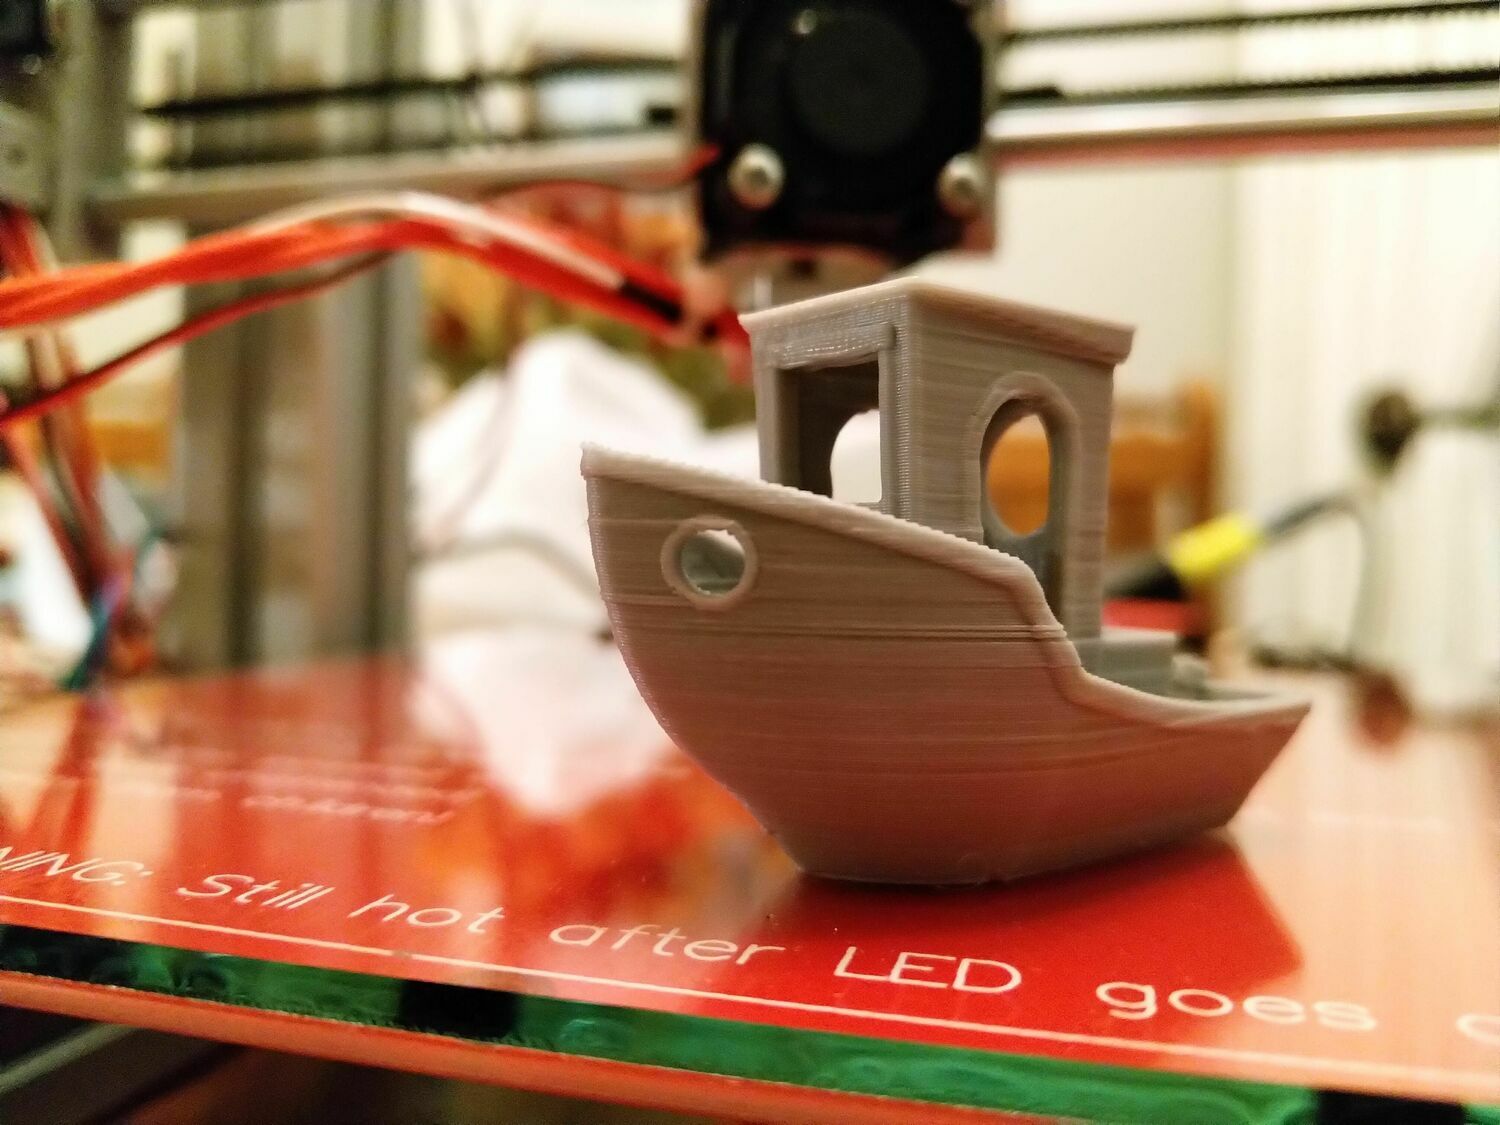
Making it usable for day-to-day use
At this point the printer was actually becoming somewhat useful. I was able to get out basic parts, and I finally started printing parts for the printer on itself. It became abundantly clear that I would have start doing some upgrades to the printer. Over the coming weeks I performed the following upgrades:
- I switched over to a direct extruder - the Bowden setup was causing too many issues and it had inconsistent extruding.
- I changed the Z-axis to use two separate drivers and limit switches. This allowed automatic Z-levelling using the wonderful Marlin firmware. Before this the Z-axis would constantly become skew, leading to all sorts of weird and wonderful printing issues.
- Automatic bed-levelling using a BL Touch sensor. I spent literal hours trying to get the bed properly levelled, only to have it become skew after only a few days. This lead to prints detaching or coming out wrong.
- A cooling fan attached to the hotend mount which really tidied up the prints and helped with bridging.
- A housing for the controller. I consider this an upgrade because it the printer was technically working fine without it.
- Added an LCD screen with an SD-card reader, because printing directly from my laptop was quickly getting old.
Wrapping it all up
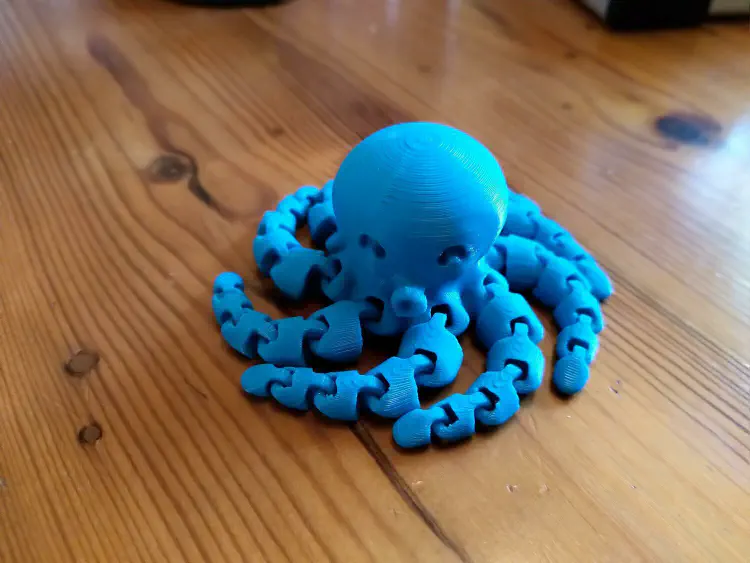
It has now been almost two years since that first fateful print, and the printer is still going strong. I’ve printed through quite a few kilograms of filament and some of the parts are starting to show their age, but after all the gradual upgrades and tweaks it has become quite reliable. These days I almost never have a failed print and the printing quality has stayed relatively good. In the end the printer probably ended up costing more than 3 times the price of a comparable commercial printer, but if I had to do it again I’ll choose the DIY route every time. I learned a ton in the process, had a lot of fun and printed more Benchies than is probably healthy (I have a giant plastic bag full of them just lying around somewhere).
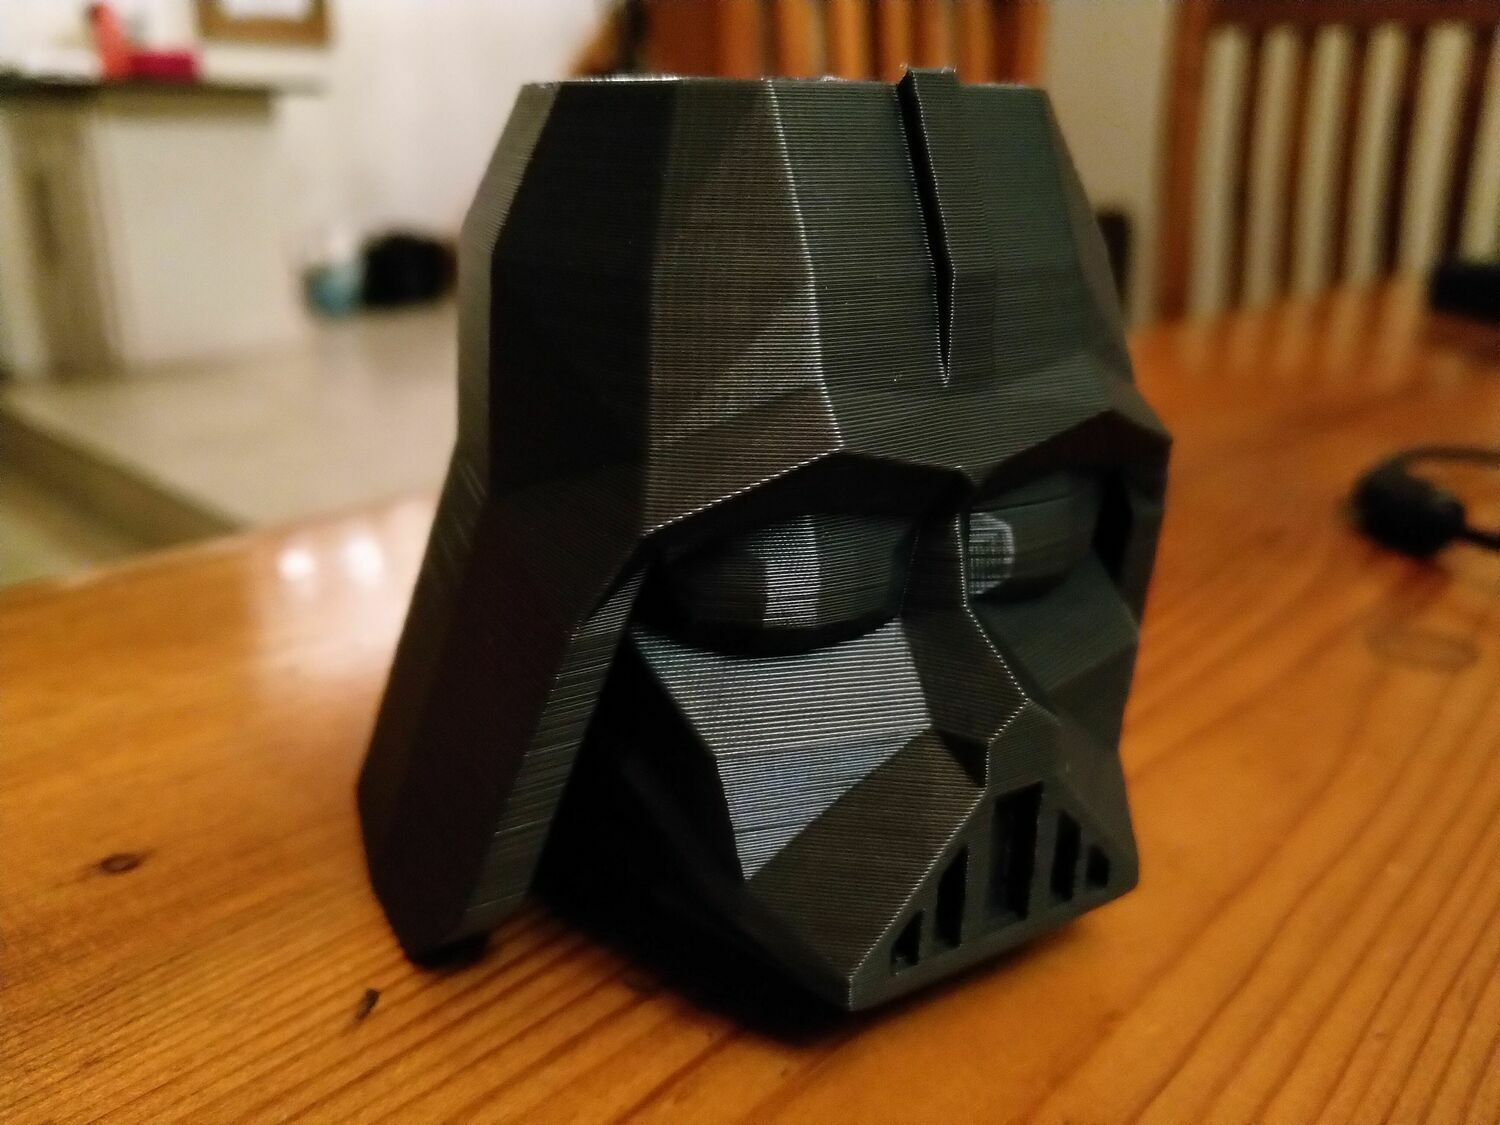
The printer ended up having close to the original design volume (17cm x 18cm x 18cm) and overall the print quality is quite good. It can’t print very fast however, doing so results in ringing or missed steps. I’ve printed everything from project enclosures to pot handles in PLA, ABS, Wooden filament and even flexible TPU.
For anyone considering building their own printer, I’d have to warn you that its not going to be a quick build. The fine-tuning process takes forever, and hunting down all the myriad of printer issues you’ll face is no small challenge. However, it taught me more about 3D printing than I would ever have learned otherwise and was probably the most fun I’ve had working on an electronics project in years. If you got this far, thank you for reading! And may your Benchies always come out perfectly.
